
Pre-Requisites:
Below are the pre-requisites for deploying CrowdStrike Falcon Sensor on AKS:
- CrowdStrike Falcon Sensor license and credentials
- FALCON_CLIENT_ID (e.g. 632e7cb554597sfc666add1985808)
- FALCON_CLIENT_SECRET (e.g. 2CPDpjsfafrgSGrou58w7df4131V40A)
- Base URL (e.g. https://api.eu-1.crowdstrike.com) OR Crowdstrike Tenant Region (e.g. eu-1)
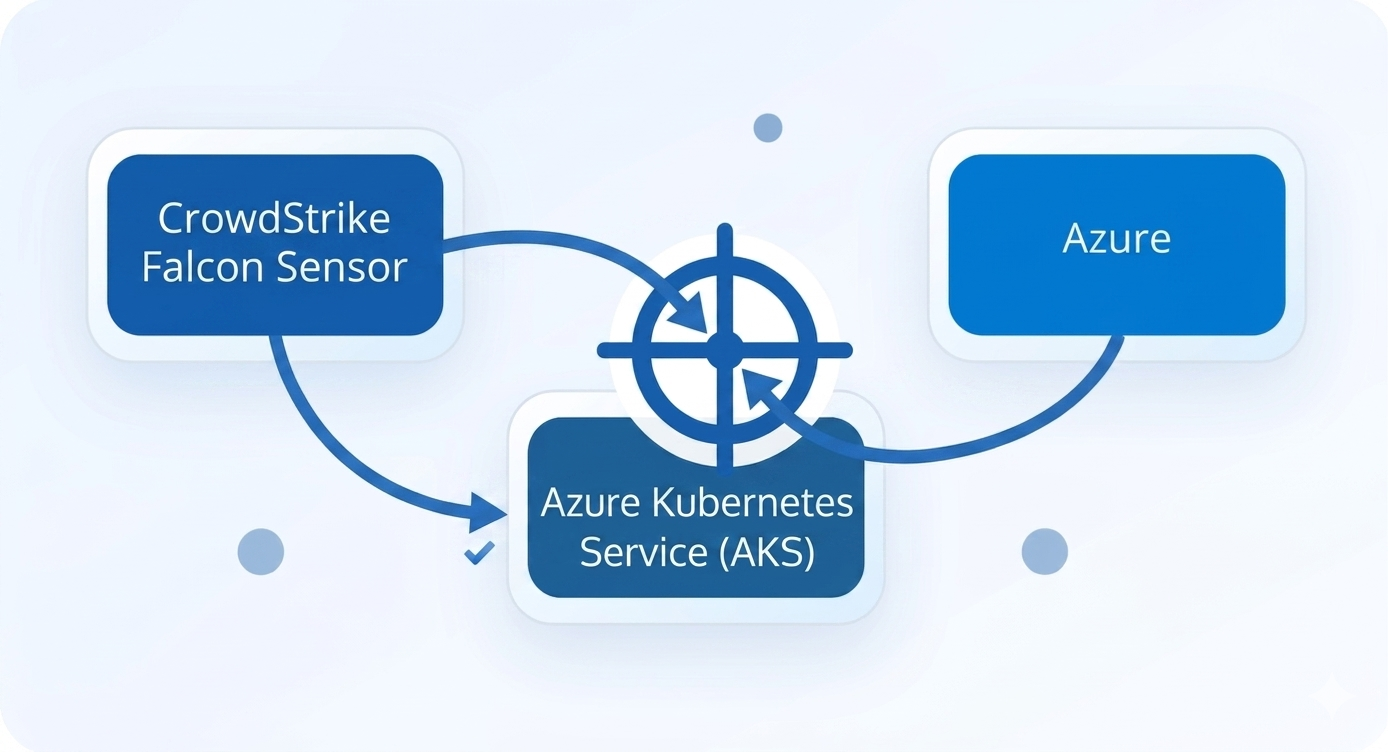
- Azure Kubernetes Service (AKS) cluster up and running
- kubectl command-line tool installed and configured
- PowerShell installed on your local machine
Step 1: Download Crowdstrike Falcon Script
Download the CrowdStrike Falcon Sensor deployment script from the official repository. It interacts with the CrowdStrike API to authenticate, fetch, and pull the latest Falcon Container Sensor image directly from CrowdStrike’s private container registry into your local environment.
Invoke-WebRequest `
  -Uri "https://github.com/CrowdStrike/falcon-scripts/releases/latest/download/falcon-container-sensor-pull.sh" `
  -OutFile "falcon-container-sensor-pull.sh"
Change permission to make it executable:
wsl chmod +x falcon-container-sensor-pull.shStep 2: Declare Environment Variables
Before running the deployment script, you need to declare the following environment variables:
$env:FALCON_CLIENT_ID="YOUR_CLIENT_ID"

$env:FALCON_CLIENT_SECRET="YOUR_CLIENT_SECRET"

$FALCON_CID = wsl bash -c "./falcon-container-sensor-pull.sh -u

$env:FALCON_CLIENT_ID -s $env:FALCON_CLIENT_SECRET -t falcon-sensor --get-cid"

$FALCON_IMAGE_FULL_PATH = wsl bash -c "./falcon-container-sensor-pull.sh -u

$env:FALCON_CLIENT_ID -s $env:FALCON_CLIENT_SECRET -t falcon-sensor --get-image-path"

$FALCON_IMAGE_PULL_TOKEN = wsl bash -c "./falcon-container-sensor-pull.sh -u

$env:FALCON_CLIENT_ID -s $env:FALCON_CLIENT_SECRET -t falcon-sensor --get-pull-token"
Verify the variables:
$FALCON_CID

$FALCON_IMAGE_FULL_PATH

$FALCON_IMAGE_PULL_TOKEN
Split Image Repo and Tag
$FALCON_IMAGE_REPO = $FALCON_IMAGE_FULL_PATH.Split(":")[0]

$FALCON_IMAGE_TAG  = $FALCON_IMAGE_FULL_PATH.Split(":")[1]
Step 3: Create a Values File
Create a values file properly by running this command:
@"
falcon:
  cid: "$FALCON_CID"
  tags: daemonset,cloud-lab

node:
  image:
    repository: "$FALCON_IMAGE_REPO"
    tag: "$FALCON_IMAGE_TAG"
    registryConfigJSON: "$FALCON_IMAGE_PULL_TOKEN"
"@ | Out-File falcon-values.yaml -Encoding utf8
Confirm the contents of file:
Get-Content falcon-values.yamlStep 4: Deploy Falcon Sensor
Deploy falcon sensor using this command:
helm upgrade --install falcon-sensor crowdstrike/falcon-sensor `
  -n falcon-system --create-namespace `
  -f falcon-values.yaml
Step 5: Verify Deployment
After the deployment is done, verify that the everything is working fine:
kubectl get pods -n falcon-system -o wideVerify Daemon Set:
kubectl get daemonset -n falcon-systemKeep in mind that the Desired should be equal to your number of nodes. Describe pod and check everything is normal:
Kubectl describe pod <falcon-sensor-pod-name> -n falcon-systemCheck the logs of the pod:
kubectl logs <falcon-sensor-pod-name> -n falcon-systemContact for personal services
Contact us for personalized assistance with your Crowdstrike deployment.